Choosing Professional Audio Equipment for Studio and Live Sound
Professional audio equipment shapes the difference between a passable recording or performance and one that truly connects with listeners. Whether you’re outfitting a home studio, a professional recording room, a podcast setup, or a live-sound rig, understanding what separates consumer gear from professional-grade systems will help you invest wisely. This article explains core components, selection criteria, setup and acoustic considerations, and how to maintain and source local services to keep your system performing at its best.

What makes gear “professional”?
Professional audio equipment is built for consistency, durability, and transparency. That means components with higher-quality electronics, tighter tolerances, robust connectors, and serviceability. Professionals prioritize low noise floors, accurate frequency response, and stable performance under extended use. Instruments and voice should be captured without added coloration unless that coloration is intentional (e.g., characterful preamps or tube gear). Reliability for live events and the ability to integrate with standardized signal levels (mic, line, instrument) and digital formats (AD/DA conversion, Dante, AES/EBU) are also hallmarks of pro equipment.
Key components for professional setups
A pro-quality system typically includes microphones, preamps, audio interfaces/converters, monitors, headphones, mixing consoles or control surfaces, and cabling/accessories. Each component plays a role: microphones capture source, preamps provide clean gain and impedance matching, interfaces convert analog signals to digital, and monitors translate mixes for critical listening. Cables, stands, and mounts—often overlooked—affect signal integrity and usability. Choosing components that integrate well (matching impedance, proper levels, suitable connectors) reduces troubleshooting and yields a more predictable workflow in both studio and live contexts.
Microphones and preamps — how to choose?
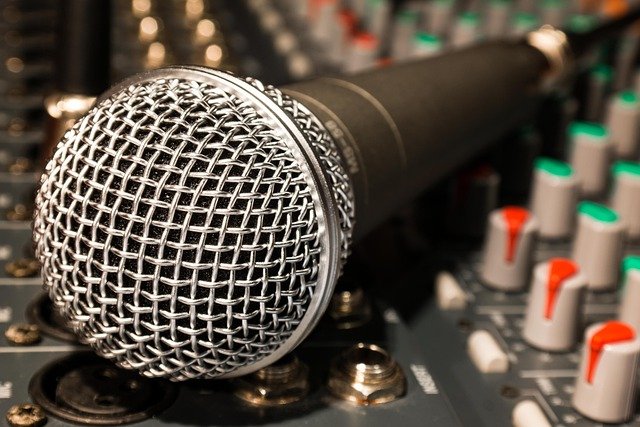
Pick microphones and preamps based on source, genre, and the sonic character you want. Condenser mics are favored for clarity and detail on vocals and acoustic instruments; dynamic mics are rugged and handle high SPLs for drums and guitar amps. Ribbon mics offer smooth, vintage tonality for certain applications. Preamps vary from transparent designs that preserve source character to colored units that add warmth or edge; matching mic sensitivity and preamp gain range avoids noise and clipping. Test a few options, listen critically, and consider portability and phantom power requirements for practical use in different environments.
Mixing, monitoring, and interfaces
Accurate monitoring is essential: a neutral-sounding set of studio monitors and a reliable headphone system help you make balanced decisions. Audio interfaces should offer low-latency performance, solid drivers, sufficient I/O for your workflow, and high-quality AD/DA converters. For larger setups, digital mixers or control surfaces with onboard processing and routing flexibility simplify complex sessions. Pay attention to headroom, sample-rate support, and synchronization options—especially if you integrate external digital gear. Latency management, proper cue mixes for performers, and clear signal routing contribute directly to productive sessions.
Acoustic treatment and setup best practices
Room acoustics have arguably more influence on final sound than any single piece of gear. Treat early reflections, control bass buildup with broadband absorbers and bass traps, and use diffusers where necessary to preserve a natural sense of space. Position monitors relative to room boundaries and use an equilateral triangle with the listening position; avoid placing speakers flush against walls without addressing boundary effects. Regularly check mixes in multiple environments (monitors, headphones, car speakers) to ensure translation. Cable management, proper grounding, and balanced wiring also reduce hums and interference that can undermine otherwise excellent equipment.
Maintenance, upgrades, and working with local services
Routine maintenance increases the lifespan and reliability of professional equipment: clean connectors, check cable integrity, update firmware where applicable, and schedule servicing for moving parts or aging components. When upgrading, prioritize items that most directly affect your goals—mics for recording fidelity, monitors for better mixing accuracy, or a robust interface for session stability. For hands-on installation, calibration, or repairs, look to vetted local services that specialize in pro audio or AV integrations. Local services can help with acoustic measurements, system tuning, on-site troubleshooting, and warranty work, ensuring your investment stays functional and optimized.
Conclusion
Investing in professional audio equipment is about more than buying well-known brands; it’s an exercise in matching gear to purpose, environment, and workflow. Prioritize transparency and reliability, consider room treatment as an essential part of the system, and establish maintenance routines while leveraging competent local services when needed. With careful selection and setup, professional audio gear becomes a dependable tool for creative expression and consistent results.


