Complete Guide to Garage Floor Coatings and Upgrades
Discover how garage floor coatings can transform a utilitarian space into a durable, easy-to-clean, and attractive area. This guide covers epoxy, polyurethane, acrylic, and polyaspartic options, explains application steps, compares DIY versus professional costs, and offers maintenance tips so you can choose the right coating for longevity and style.

Why a garage floor coating is worth considering
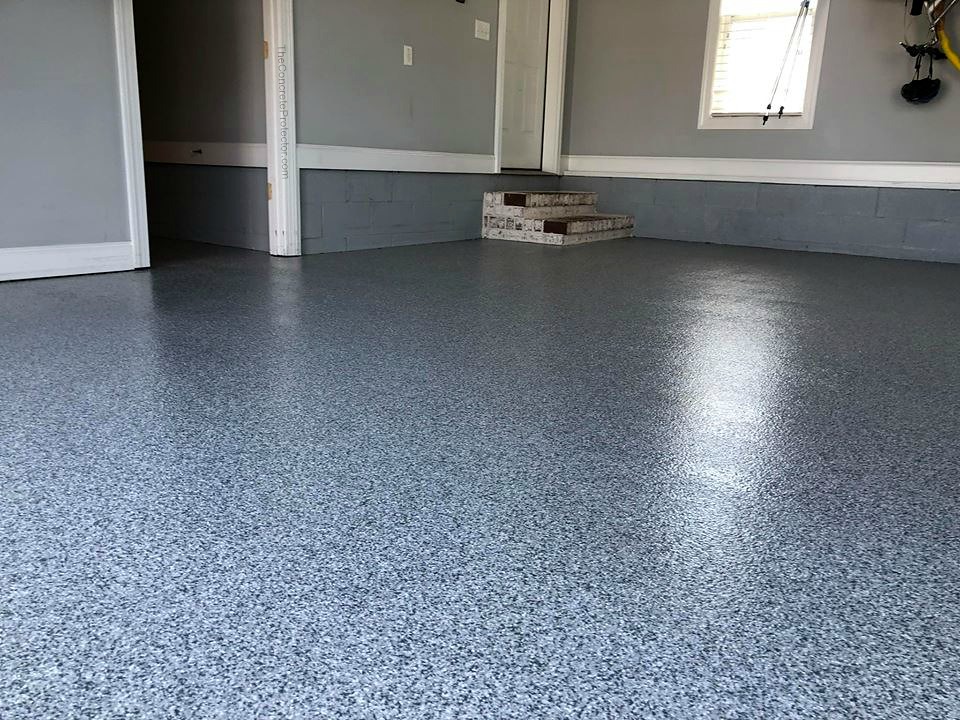
A coated garage floor does more than improve curb appeal. It creates a protective layer that shields concrete from oil stains, chemical spills, abrasions, and moisture. That protective barrier makes routine cleaning faster and helps prevent long-term damage that can shorten the life of the slab. Beyond protection, many coatings deliver a finished, polished look that turns the garage into a practical workshop, showroom, or extended living space.
Popular types of garage floor coatings
There are several widely used coating systems, each with distinct benefits and trade-offs. Choosing the right one depends on budget, exposure to sunlight, desired finish, and how you use the garage.
-
Epoxy: A durable, hard finish that resists chemicals and heavy traffic. Epoxy tends to be glossy and long-lasting when applied correctly, making it a popular choice for residential garages.
-
Polyurethane: Noted for its UV stability and flexibility, polyurethane handles temperature swings and sun exposure better than many coatings. It also offers excellent abrasion resistance and is often used as a protective clear coat over other systems.
-
Acrylic: Lightweight on cost and application difficulty, acrylic coatings are user-friendly for DIYers. They dry quickly and refresh the look of concrete, though they generally provide shorter-term protection compared with epoxy or polyurethane.
-
Polyaspartic: A newer technology that cures rapidly and produces a very tough surface. Polyaspartic systems can be applied in cooler conditions or over larger areas quickly, but the material and installation can be pricier.
How coatings are installed
Successful coating starts with proper preparation. Skipping or rushing this phase is the most common cause of adhesion failure.
-
Surface preparation: Clean the floor thoroughly to remove grease, oil, and debris. Repair visible cracks or spalls and mechanically profile or acid-etch the concrete to give the coating something to grip.
-
Priming: A primer promotes bonding between the concrete and the coating, particularly on porous surfaces.
-
Base coat application: The primary coating is rolled or squeegeed across the floor in thin, even layers. For some systems multiple coats may be recommended.
-
Decorative flakes or chips (optional): While the base is still tacky, colored flakes can be broadcast onto the surface for texture and visual appeal. This also helps hide imperfections and improves slip resistance.
-
Clear topcoat: A clear sealer locks in the flakes, evens the surface, and adds chemical and abrasion resistance. Topcoats are especially important for UV protection when sunlight reaches the floor.
Cost overview
Costs vary based on material, garage size, condition of the concrete, and whether you hire a pro or DIY. Below is a general price range to help with budgeting.
| Coating Type | DIY Cost (per sq ft) | Professional Installation (per sq ft) |
|---|---|---|
| Epoxy | $3 - $7 | $8 - $12 |
| Polyurethane | $2 - $5 | $6 - $10 |
| Acrylic | $0.50 - $2 | $3 - $5 |
| Polyaspartic | $3 - $7 | $10 - $15 |
Prices, rates, and cost estimates above are based on the latest available information but may change. Independent research is advised before making financial decisions.
Lifespan and maintenance expectations
How long a coating lasts depends on the product, the quality of the installation, and how the garage is used. Properly applied epoxy and polyurethane floors commonly last between 5 and 15 years when maintained. Acrylic coatings tend to wear sooner, often in the 2 to 5 year range. Polyaspartic systems can offer long lifespans as well, particularly when installed professionally.
Maintenance is straightforward: sweep or vacuum regularly, mop up spills quickly, and avoid harsh solvents that could degrade the finish. Use non-abrasive cleaners and consider placing mats under automotive work areas to protect high-impact zones.
DIY versus professional installation
DIY kits are available for most coating types and can save money for small projects or experienced homeowners. However, professional installers bring equipment and expertise that improve adhesion, consistency, and durability—especially on problematic concrete or large garages. Fast-curing products like polyaspartic often require precise timing and tools that favor professional installation.
Making the right choice for your garage
Start by listing priorities: budget, desired appearance, UV exposure, how often the garage will see heavy use, and whether you want a decorative finish. If longevity and chemical resistance top the list, epoxy or polyaspartic systems applied by a professional are strong contenders. For sunlit garages, prioritize polyurethane or UV-stable topcoats. If cost and ease matter most, acrylics offer an economical refresh.
Investing in a quality coating can raise functionality, ease maintenance, and boost your home’s appeal. With a clear understanding of the options, application steps, and realistic costs, you can decide whether to tackle the work yourself or hire a pro to get the best long-term result.


