DIY Home Projects: Wood Shelves, Furniture, Tools, and Paint
Taking on do-it-yourself projects at home can be rewarding, practical, and creative. Whether you want a simple shelf to organize a workspace, to refinish a family table, or to learn how to use basic tools safely, DIY helps you control materials, style, and function. This guide covers how to choose wood, the essential tools to own or rent, a straightforward shelf-building approach, tips for refinishing furniture, and guidance on selecting paint and finishes. It focuses on practical steps, safety, and decisions that help results look professional without requiring advanced training.

What wood should you choose?
Choosing the right wood begins with the project’s purpose. Softwoods like pine and fir are affordable and easy to cut, which suits shelving, prototype furniture, and painted pieces. Hardwoods such as oak, maple, and birch are denser, take stain well, and resist wear for visible furniture surfaces. Engineered options — plywood, MDF, and OSB — offer dimensional stability and are useful for shelving and painted furniture but differ in edge finishing and screw-holding ability. Consider moisture exposure: use exterior-grade or pressure-treated lumber for outdoor projects. Also check for straightness and knot placement when buying boards, and select finishes and fasteners compatible with your wood choice.
Which tools are essential?
A small, reliable toolkit speeds work and improves results. Essentials include: tape measure, combination square, pencil, hand saw or jigsaw, cordless drill/driver with bits, clamps, a set of screwdrivers, sanding block or orbital sander, and a level. For furniture joinery, a countersink, pocket-hole jig, or dowel set is useful. Safety equipment—safety glasses, hearing protection, and dust mask—is mandatory. Power tools can be rented from local services or tool rental centers in your area if you need them infrequently; renting can be cost-effective for one-off projects. Invest in a few quality hand tools and add specialty items as projects become more complex.
How to build a simple shelf
Start with a clear plan: measure the available wall space, decide shelf depth (12–16 inches for general use), and calculate board lengths. Choose a board thickness that supports expected loads; 3/4-inch plywood or solid wood is common. Cut pieces accurately, sand edges, and assemble using screws with pocket holes, brackets, or dowels. Use at least two sturdy wall anchors or locate studs for heavier loads. Clamp pieces square during assembly, pre-drill holes to prevent splitting, and check level before final fastening. Finish with paint or a clear coat for durability. For adjustable shelving, use metal shelf standards and brackets for flexibility.
Refinishing furniture: steps and tips
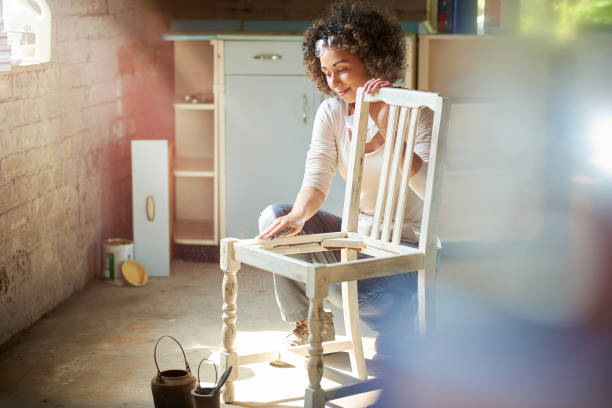
Refinishing begins with assessing the piece: look for structural damage, loose joints, or veneer issues. Clean surfaces with a mild degreaser, then remove old finishes with chemical strippers or sanding when appropriate. Sand progressively—start with coarser grit to remove finish and move to finer grits for smoothness. Repair joints with wood glue and clamps, fill gouges with compatible filler, and re-sand. Apply stain if you want to enhance grain, or use paint for a new color. Seal with polyurethane, shellac, or wax depending on desired sheen and durability. Test finishes in an inconspicuous area to confirm color and adhesion before applying universally.
Selecting paint and finishes
The right paint or finish depends on use and look. Latex (water-based) paints dry quickly, clean up easily, and work well for painted furniture and shelves. Oil-based paints provide a harder finish but have stronger fumes and longer cure times. Chalk paint adheres to many surfaces with minimal prep and provides a matte look often sealed with wax. For wood grain preservation use stains followed by a protective clear coat like polyurethane or water-based varnish. Consider sheen—flat for low-reflective surfaces, semi-gloss or satin for furniture that needs cleaning. Always prime bare wood or engineered boards to improve adhesion and reduce topcoat absorption. Work in a ventilated area and sand lightly between coats for a smooth result.
Conclusion
DIY projects involving wood, tools, shelves, furniture, and paint become easier with planning, the right materials, and attention to safety. Start with small, well-scoped projects to build skills, check compatibility of materials and finishes, and use proper safety gear. Local tool rental services, community workshops, and online tutorials can provide additional support as you take on more ambitious builds. With practice, simple techniques yield durable, attractive results that suit your space and personal style.


