Essential Tools and Safety Precautions for Home Mounting Projects
This article outlines the essential tools and clear safety precautions for common home mounting projects. It covers tool selection, fasteners and anchors, locating studs, assessing load capacity, proper brackets and materials, layout planning, and maintenance tips to help DIYers mount shelves and storage securely and neatly.

Mounting shelves and storage at home requires planning, the right hardware, and careful attention to safety. Before you begin, assess the wall type, the expected load capacity, and the intended use for organization or display. A methodical approach to tools, fasteners, anchors, and layout reduces mistakes and helps ensure that shelves remain safe over time. This article explains practical steps for preparation, installation, maintenance, and styling so you can complete projects with confidence and longevity in mind.
What tools do you need for mounting?
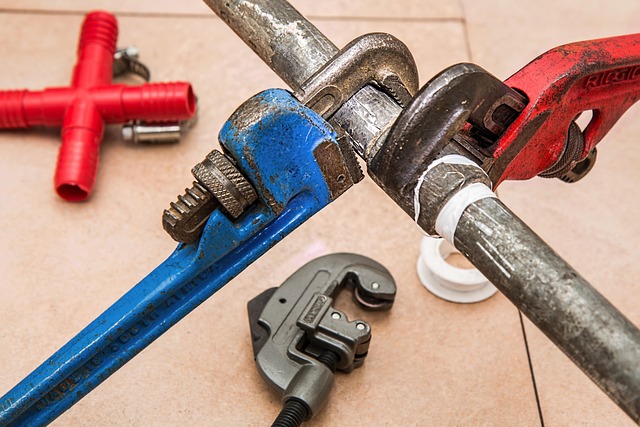
Basic tools support accurate installation and safer work. Essential tools include a stud finder, a reliable level, tape measure, and a pencil for marking. A drill with a variety of bits, a set of screwdrivers, a hammer, and an adjustable wrench are useful for handling most fasteners and brackets. Safety gear such as safety glasses, a dust mask, and work gloves helps prevent injury. For DIYers tackling heavier shelves or repeated installations, an impact driver and a selection of drill bits for wood, metal, and masonry make the process more efficient.
How to choose fasteners and anchors?
Selecting the proper fasteners and anchors depends on wall material and load expectations. For drywall without stud support, use toggle bolts or heavy-duty wall anchors rated for the intended load; these distribute force more effectively than standard plastic anchors. In masonry walls, use masonry anchors or concrete screws sized to the bracket and shelf. When mounting into studs, high-quality wood screws or lag bolts provide the best connection. Check manufacturer ratings and match fastener length and diameter to both bracket holes and wall thickness for secure installation.
Where to find studs and assess load capacity?
Locating studs is critical for reliable mounting and maximizing load capacity. Use an electronic stud finder to identify framing, then confirm positions by measuring typical stud spacing — commonly 16 inches on center in many constructions — and probing discreetly with a small nail where safe. Estimate the shelf’s load capacity by totaling expected item weights and comparing that to bracket and fastener ratings. Distribute heavy items across multiple brackets and fasteners to minimize point loads, and consider additional reinforcement for long spans or shelving intended for heavy storage.
Which brackets, materials, and finish suit your shelf?
Choose brackets and shelf materials based on function, aesthetics, and durability. Steel or aluminum brackets usually offer higher structural capacity and low-profile looks, while solid wood or plywood shelves provide a warmer finish and good load distribution when thick enough. Consider moisture-resistant materials for kitchens and bathrooms, and pick a finish that tolerates cleaning and wear. Match bracket finish and shelf edge treatments to the room’s styling, but prioritize bracket strength and compatibility with your chosen fasteners to maintain safety over appearance.
How to plan spacing, layout, and installation?
A clear layout saves time and avoids costly adjustments. Measure wall width and plan vertical spacing based on what you will store—taller items need more clearance than stacked plates or books. Mark bracket locations relative to studs or chosen anchor points, and pre-drill pilot holes to protect materials and ensure accurate screw alignment. Use a level and a straightedge to keep shelves perfectly horizontal; when installing multiple shelves, measure from a baseline rather than stacking levels off one another to reduce cumulative error.
What safety, maintenance, and styling should you consider?
Safety begins with correct fasteners, protective gear, and proper tool use. After installation, periodically inspect screws, anchors, and brackets for loosening or corrosion, especially if loads change or items are moved frequently. Maintenance includes tightening hardware, cleaning the finish, and addressing any moisture or wear that could compromise strength. For styling and organization, place heavier items on lower shelves, distribute weight evenly, and use bins or dividers to prevent tipping. Thoughtful styling should support safe load distribution rather than compromise it.
In summary, well-executed home mounting projects depend on the right tools, appropriate fasteners and anchors, accurate stud location, and realistic assessment of load capacity. Careful selection of brackets, materials, spacing, and finish improves both utility and appearance, while regular maintenance and safety checks help ensure long-term reliability. Following these practical steps will help you create durable, well-organized shelving and storage solutions for a variety of home environments.


