Hands-On Guide to Crafting Clean Home Recordings
This article provides practical, hands-on techniques for achieving clearer home recordings. It covers key steps across recording, editing, mixing, and mastering while integrating composition, arrangement, and sound design practices to improve results in a typical home setup.

A clean home recording starts with preparation and a systematic approach. Before you press record, consider the room, source balance, and a simple signal chain that minimizes noise. Small changes—positioning a mic, reducing reflections, routing clean gain staging—often yield the largest improvements. Throughout this guide you’ll find concise, practical methods that apply to vocal and instrument tracking, editing, and later stages like mixing and mastering. These techniques emphasize consistent workflow and hands-on practice so results are repeatable in most home environments.
How to approach recording and editing?
Recording is the foundation: choose suitable microphones and set levels so peaks stay below clipping while capturing desired tonal detail. Pay attention to microphone placement relative to the source and use basic room treatment or portable reflection filters where possible. After tracking, editing focuses on removing distractions, aligning takes, and trimming silences; use crossfades to avoid clicks. Good editing also includes cleaning breaths or noise, comping multiple takes into a single cohesive performance, and organizing files so later steps—mixing and mastering—are more efficient.
What role do mixing and equalization play?
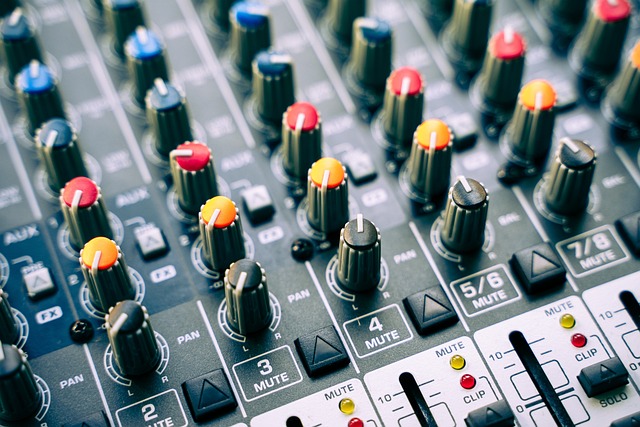
Mixing brings balance and clarity by managing levels, panning, and tonal shaping. Equalization is a surgical tool to carve space for each element: attenuate competing frequencies, gently boost presence where needed, and apply high-pass filters to remove unnecessary low-end rumble. Aim for transparency; drastic EQ moves can fix problems but often point back to recording issues. Use reference tracks to judge tonal balance and trust your ears at different playback levels. A patient, iterative mixing approach improves clarity while preserving the character of the original performance.
When to use compression and automation?
Compression controls dynamics to help elements sit consistently in the mix. Use compression to tame peaks or glue a group of instruments, but avoid over-compressing which reduces natural dynamics. Automation complements compression by adjusting levels over time—ride vocal faders, automate reverb sends, and bring instruments forward for solo sections. Automation is essential for clarity in complex arrangements; it preserves dynamic nuance without relying solely on static processing. Combine gentle compression with thoughtful automation to retain life and intelligibility.
How does sequencing, MIDI, and sampling fit?
Sequencing and MIDI are central when working with virtual instruments or sampled sounds. A tight sequencing workflow—clear naming, consistent tempo mapping, and organized lanes—speeds up arranging and editing. Use MIDI for precise note editing, humanize velocities sparingly to avoid mechanical feel, and employ sampling thoughtfully to layer textures. When integrating sampled elements, match their tuning and timing to live tracks, and use transient shaping to help samples sit with recorded drums or percussive sources. Proper organization reduces trial-and-error and enhances compositional decisions.
How to apply synthesis and sound design?
Synthesis and sound design expand creative options for textures and transitions. Start with basic oscillator shapes, filter routing, and envelope controls to craft leads, pads, or basses that complement recorded elements. Layer synthesized sounds with samples to add dimension, then sculpt with equalization and subtle saturation for character. Use modulation (LFOs, envelopes) and automation to evolve sounds across the arrangement. Sound design should serve the composition—avoid overly complex patches that mask clarity; simpler elements often fit better in a clean mix.
How to build a reliable workflow for composition and arrangement?
A predictable workflow keeps projects moving: establish a session template with routing, busses, and basic effects, label tracks consistently, and save incremental versions. Start composition with a clear structure—intro, verse, chorus, bridge—and use arrangement sketches to test dynamics. Group related tracks and create submixes to simplify mixing and mastering later. Maintaining a routine for backups and reference checks reduces stress and helps you focus on creative decisions rather than technical fixes. Consistency in workflow translates into faster, cleaner results.
Clean home recordings depend on attention at every stage: capturing good sources, tidy editing, balanced mixing, and mindful mastering choices. Focus on practical habits—organized sessions, measured processing like EQ and compression, and purposeful use of synthesis, sampling, and automation—to achieve clarity. Treat each session as a learning opportunity to refine signal flow and workflow; over time these small improvements compound into consistently cleaner recordings.


