How to Diagnose Common Laundry Appliance Failures
Laundry appliances are essential for household uptime. This article outlines practical, safety-minded steps for diagnosing common failures, covering routine maintenance, troubleshooting drainage and motor issues, inspecting seals and parts, and understanding installation, energy efficiency, warranty, and when to consult local services or a technician.

How to Diagnose Common Laundry Appliance Failures
Maintenance and servicing
Regular maintenance extends appliance uptime and reduces unexpected breakdowns. Start with simple, scheduled checks: clean lint traps and detergent dispensers, run a monthly tub-clean cycle if available, and inspect hoses for bulges or kinks. Keep a basic log of servicing tasks and any unusual behavior; this helps with diagnostics and warranty claims. When servicing is required, choose qualified local services that provide clear work scopes and parts information to avoid repeated issues.
Troubleshooting drainage and leaks
Drainage problems and leaks are common and often straightforward to diagnose. Listen for unusual gurgling or slow emptying during the drain cycle—this can indicate a blocked pump or clogged drain hose. Check the drain hose for kinks or obstructions, and inspect the pump filter (if accessible) for lint or small objects. For visible leaks, trace the source: door seals, inlet hoses, and detergent dispenser areas are frequent culprits. Tighten hose clamps and replace cracked hoses or worn seals rather than relying on temporary fixes.
Diagnostics for motor, spin, and drum issues
If the drum won’t spin or the spin cycle is weak, start by checking load balance—overloading or uneven distribution can prevent proper spinning. Listen for humming or strain sounds that suggest motor stress or a failing drive belt. Access panels can reveal a worn belt or damaged pulley; some newer models use direct-drive motors that require different diagnostics. Use a multimeter to check motor continuity only if you are comfortable with electrical safety and have disconnected power. If the motor smells burned or trips breakers, stop and consult a technician.
Inspecting seals, parts, and noise sources
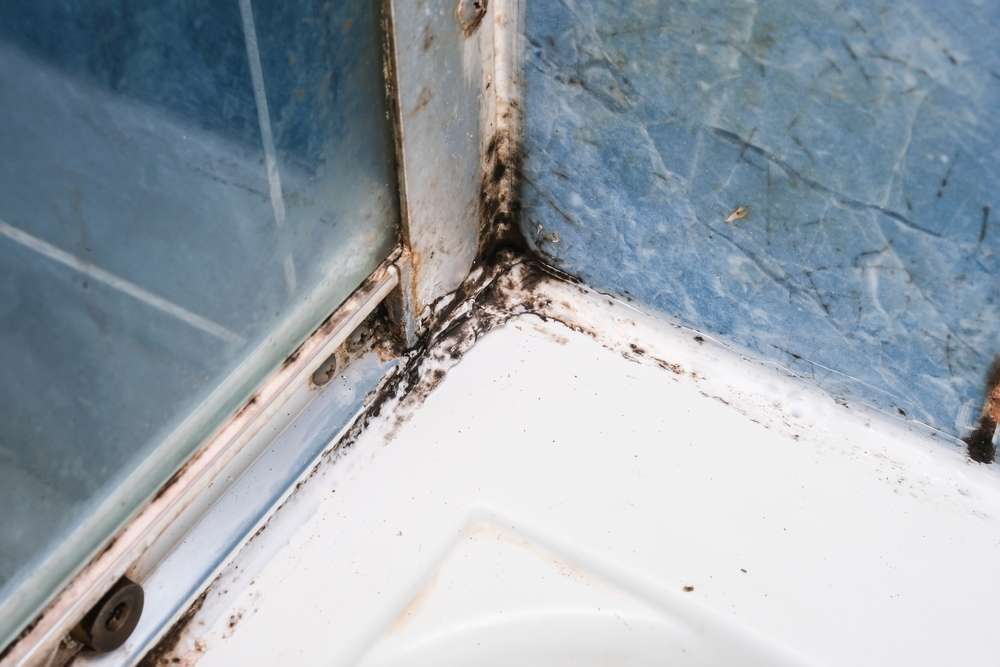
Persistent noise often points to worn parts: bearings, seals, or foreign objects caught in the drum. Tap the drum by hand; a loose or grinding sound can indicate bearing wear. Inspect door seals for tears, mold, or trapped debris that cause leaks and odors. Visual checks of visible parts—springs, dampers, and shock absorbers—can reveal issues affecting drum movement and balance. Replace only genuine or manufacturer-recommended seals and parts to maintain compatibility and avoid voiding warranties.
Installation, warranty, and uptime considerations
Correct installation affects reliability and energy efficiency. Ensure appliances are level to prevent excessive vibration and check that water supply and electrical connections meet local codes. Review warranty terms before attempting in-depth DIY repairs; some actions, such as opening sealed components, may void coverage. For maintaining uptime, keep spare basic parts on hand (hoses, belts, clamps) and identify reputable local services for emergency support. Documenting installations and previous servicing helps when filing warranty claims or arranging professional diagnostics.
Energy efficiency and DIY diagnostics
Energy-efficient operation can reveal underlying issues: a sudden rise in energy use or longer cycles may indicate blocked filters, failing heating elements, or inefficient spin. Many appliances include diagnostic modes or error codes—consult the manual to interpret these codes accurately. For safe DIY diagnostics, disconnect power and water before inspecting internal parts, use a multimeter properly, and avoid bypassing safety interlocks. When unsure, schedule a professional evaluation to confirm findings and prevent costly mistakes.
Conclusion A structured approach—combining routine maintenance, systematic troubleshooting, and informed parts inspection—helps identify most common laundry appliance failures. Understand the limits of DIY work, keep records related to installation and servicing for warranty support, and use energy and noise clues to narrow down likely causes. Clear documentation and working with qualified local services when necessary will preserve uptime and extend the usable life of the appliance.


