Revamp Garage Floors: Compare Epoxy and Polyurethane
Transform your garage into a cleaner, more durable and attractive space with the right floor coating. This guide compares epoxy and polyurethane options, explains surface prep and application steps, and breaks down typical DIY and professional costs so you can plan your garage upgrade with confidence.

Why a floor coating is a smart garage upgrade
A coated garage floor does more than improve curb appeal — it protects the concrete beneath. Modern coatings shield against oil, gasoline, road salts, and many household chemicals, reducing staining and deterioration. They also simplify maintenance: dirt and spills wipe away far easier from a sealed surface than from raw concrete. Beyond protection and easy cleaning, a finished floor instantly elevates the look of the space, turning a utilitarian area into a more inviting, professional-feeling room.
Epoxy versus polyurethane: strengths and ideal uses
Two of the most common choices for garage floors are epoxy and polyurethane. Both offer benefits, but they serve slightly different needs.
Epoxy - High chemical resistance and excellent hardness - Strong adhesion to properly prepared concrete - Available in many pigments and sheens for a customized appearance - Well suited for heavy traffic, vehicle use, and workshop environments
Polyurethane - More flexible, which helps absorb impacts without cracking - Better UV stability, so it resists yellowing when exposed to sunlight - Typically dries faster than epoxy - Offers improved scratch and abrasion resistance for long-term wear
In short, pick epoxy when maximum toughness and chemical resistance matter most. Choose polyurethane when UV exposure, flexibility, and scratch resistance are higher priorities. Some systems combine both materials in layered systems to capture the benefits of each.
How to prepare your concrete for a lasting coating
Proper preparation is the foundation of a successful coating job. Skipping steps here is the most common cause of failure. Key preparation tasks include:
- Clean the floor thoroughly. Remove oil, grease, dust, and loose debris with degreasers and a strong rinse. Stains should be treated so the coating bonds uniformly.
- Repair damage. Patch cracks and spalls with a compatible concrete repair compound. Uneven areas should be leveled to avoid thin spots in the coating.
- Profile the surface. Etching with muriatic acid or mechanically grinding creates a roughness that allows the coating to adhere. Grinding provides the most consistent profile and is recommended for most jobs.
- Drying time. Concrete must be fully dry before application. Moisture trapped beneath a coating can cause bubbling, peeling, or poor adhesion.
Preparation is often the most time-consuming phase but is critical for longevity. For larger garages or compromised concrete, professional assessment is worth considering.
Application: a practical sequence
Application details vary by product, but a typical workflow looks like this:
- Mix components. Many coatings are two-part systems that need to be blended precisely. Follow the manufacturer’s ratios and mixing time to ensure proper curing.
- Prime if recommended. A primer can improve adhesion and even out porosity.
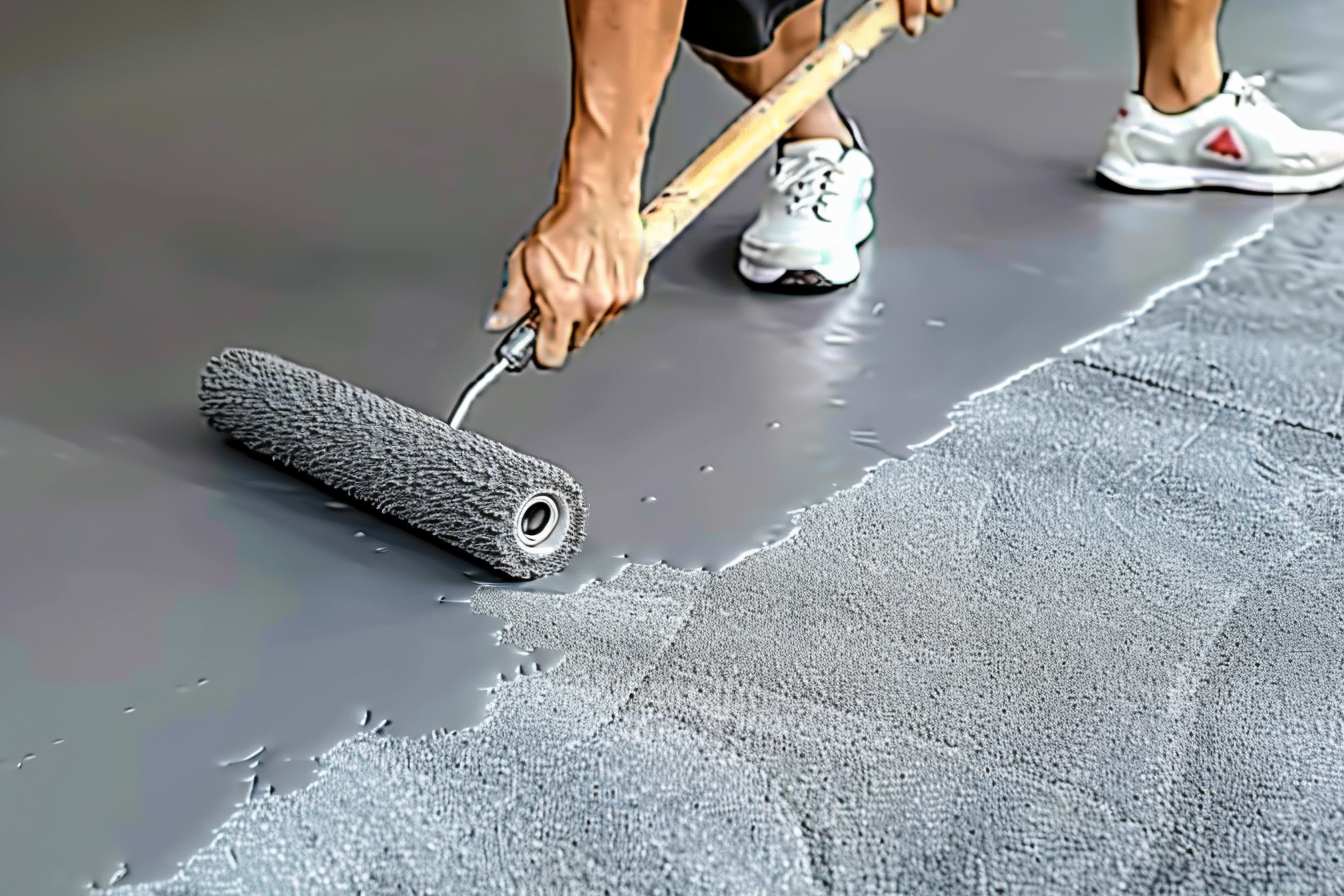
- Apply the base coat. Spread the main coating using rollers or squeegees for an even film thickness. Work systematically to avoid lap marks.
- Add decorative elements. If you want color flakes or chips, broadcast them while the base is still tacky, then allow them to settle.
- Let the base cure. Follow curing times; rushing the next step can compromise the finish.
- Seal with a clear topcoat. A polyurethane topcoat over epoxy base systems adds chemical, abrasion, and UV resistance while increasing gloss.
DIY enthusiasts can complete small garages with careful work. However, professionals offer controlled environment application, precise mixing, and experienced surface prep, which often translates into a longer-lasting finish.
| Coating Type | DIY Cost (Materials Only) | Professional Installation |
|---|---|---|
| Epoxy | $200 - $500 | $1,500 - $3,000 |
| Polyurethane | $300 - $600 | $2,000 - $4,000 |
| Hybrid | $250 - $550 | $1,800 - $3,500 |
Prices, rates, or cost estimates mentioned in this article are based on the latest available information but may change over time. Independent research is advised before making financial decisions.
Choosing between DIY and hiring a pro
Smaller garages with sound concrete and basic cosmetic goals are reasonable DIY projects if you have patience and the right tools. Expect several days of work when including prep and curing. For larger areas, damaged slabs, or for those seeking a flawless, long-lasting finish, professional contractors deliver consistent surface prep, accurate mixing, and warranty-backed results that justify the expense.
Final considerations and longevity
A quality coating system can add years to the life of a garage floor while making it easier to maintain and much more attractive. Take time to choose a coating that fits the environment — heavy-duty epoxy for high chemical and loading conditions, or polyurethane where UV stability and abrasion resistance are priorities. Proper surface prep and correct application are the keys to value; invest there and the coating will reward you with durability and low upkeep for many seasons.
Whether you aim to protect a work area, create a show-ready garage, or simply make cleaning less of a chore, a thoughtfully selected and installed floor coating is one of the most effective upgrades you can make to your garage.


