Revamp Your Home with Wall Stickers & Decals
Discover how wall stickers and decals can instantly refresh any room without the time, expense, or commitment of paint or wallpaper. Learn practical tips for choosing the right designs, preparing surfaces, and installing removable, durable decals. From DIY accent walls to custom murals and renter-friendly solutions, this guide covers adhesive quality, longevity, and professional design tricks to help you personalize your space with ease. Perfect for home decor, nursery updates, rented apartments, and creative makeovers.

Wall stickers and decals offer an easy, affordable way to update interiors without the commitment of paint or wallpaper. They let you introduce color, pattern, and personality quickly—whether you want a bold focal wall, subtle accents, or temporary decorations for renters. Below are practical guidelines and design approaches to help you choose, apply, and maintain decals for the best results.
Choosing Wall Art That Suits Your Space
Start by assessing the room’s size, existing color palette, and overall style. Large living rooms can handle dramatic, oversized motifs that serve as statement pieces, while compact rooms benefit from smaller, more restrained patterns so the space doesn’t feel overwhelmed. Match the scale of the design to the wall: a long, horizontal decal works well above a sofa or bed, whereas tall, vertical elements help draw the eye upward in rooms with low ceilings.
Consider contrast and cohesion. Pick colors that either harmonize with your furnishings for a cohesive look or introduce a complementary hue to create tension and visual interest. Think about the room’s primary function—playful shapes and typography suit kids’ areas; botanical or minimalist patterns often read better in living and working spaces. If you rent, prioritize removable materials and installers that won’t damage paint.
Preparing Surfaces and Practical Application Tips
Preparation makes the difference between a smooth, lasting installation and peeling, bubbling decals. Ensure walls are clean, dry, and free of dust, grease, or loose paint. Avoid applying stickers to heavily textured, damp, or recently painted surfaces; allow fresh paint to cure for the manufacturer-recommended time.
Ideal conditions for installation are moderate room temperature and low humidity. Use the following step-by-step method:
- Clean the wall thoroughly with a mild cleaner and let it dry completely.
- Measure and mark placement using a level and painter’s tape to preview alignment.
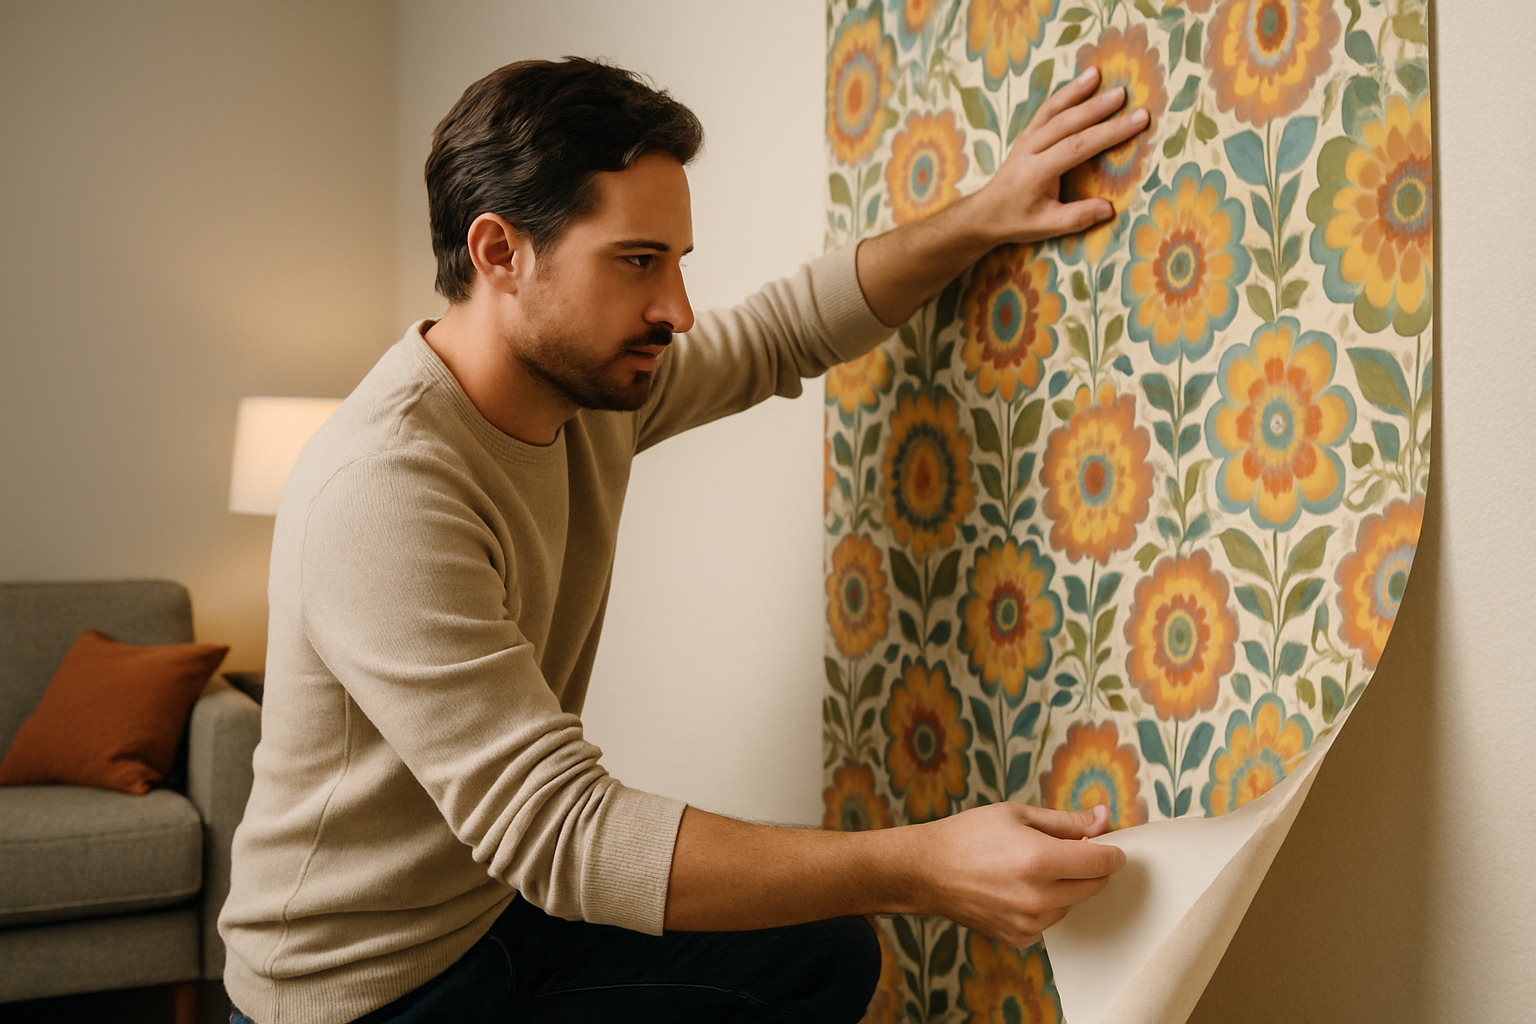
- Peel the backing slowly to prevent creases and keep the adhesive clean.
- Position the sticker and smooth from the center outward with a soft squeegee or cloth to remove air bubbles.
- For larger pieces, apply in panels and overlap seams slightly if the design requires it.
If you need to reposition, lift gently and reapply within the adhesive’s workable window. For stubborn bubbles, puncture with a pin and smooth out the air.
Design Strategies Used by Professionals
Interior designers use stickers strategically to manipulate perception and define zones. Vertical patterns create the illusion of height, while horizontal elements can make a room feel wider. In open-plan homes, decals are an affordable way to delineate areas—a mural or band of pattern can visually separate the dining area from the living room.
Layering smaller decals over a muted background or combining multiple complementary designs adds depth. Typography and motivational quotes are popular for entryways, home offices, and bedrooms; choose readable fonts and appropriate sizing. Nature-inspired motifs—trees, leaves, birds—soften interiors and bring an outdoor feeling indoors without requiring a lot of space.
Clustered arrangements, like a gallery of small decals, work well on narrow walls or to frame furniture. Keep balance in mind: cluster weight should mirror nearby furniture or architectural features so the composition feels intentional.
Materials, Adhesives, and Longevity
Longevity depends on materials and adhesive quality. Premium decals generally use water-based adhesives that are kinder to surfaces and the environment, and pressure-sensitive adhesives that permit limited repositioning during installation. UV-resistant inks help prevent fading in sunlit rooms, and high-grade substrates are engineered for residue-free removal.
Before committing to a large purchase, test a small sample on the intended wall to confirm adhesion and removability. Keep these points in mind:
- Choose products labeled removable if you rent or change styles frequently.
- Matte finishes hide imperfections better than glossy ones.
- Fabric-based decals can offer longer service life and easier repositioning but may cost more.
- Outdoor-rated materials are necessary for humid or sun-exposed areas.
Typical durability will vary by material and placement; avoid applying decals to damp, peeling, or highly textured surfaces if you want optimal lifespan.
| Type of Wall Sticker | Average Price Range | Durability |
|---|---|---|
| Vinyl Decals | $15-$40 | 3-5 years |
| Fabric Wall Stickers | $25-$60 | 5-7 years |
| Custom Designs | $50-$200+ | 4-6 years |
| Large-Scale Murals | $100-$300+ | 5-8 years |
Prices, rates, or cost estimates mentioned in this article are based on the latest available information but may change over time. Independent research is advised before making financial decisions.
Final Tips for a Successful Makeover
Select designs that reflect how you use the space, prioritize surface preparation, and choose materials suited to the environment. Small decals can refresh a room instantly; larger murals require planning but deliver a dramatic transformation. With attention to scale, adhesive quality, and placement, wall stickers and decals are a flexible, cost-effective way to personalize your home without long-term commitment.


