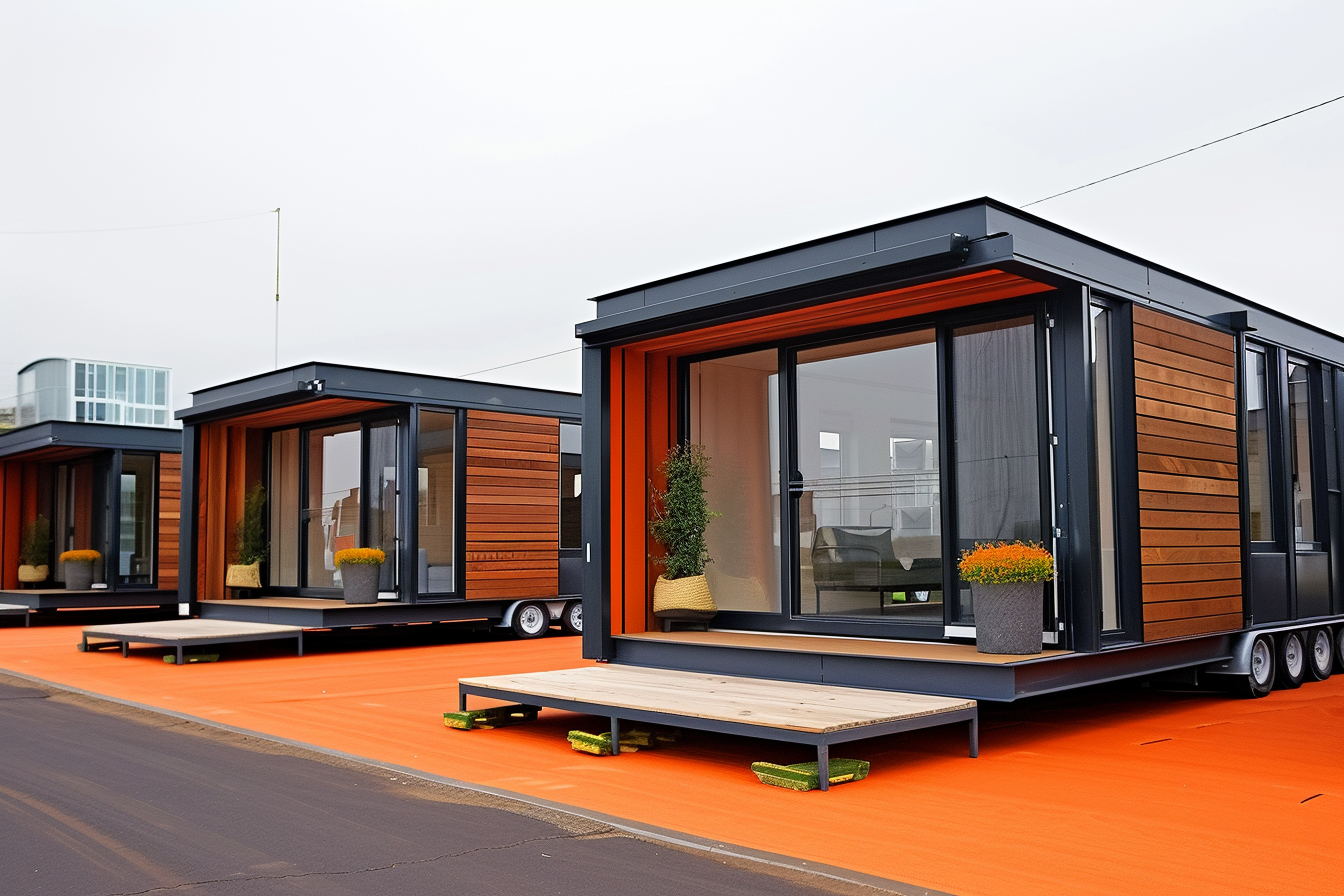
Space-Saving Layouts for Compact Outdoor Living Structures
Compact outdoor living structures can offer efficient, comfortable shelter without a large footprint. This short overview highlights design priorities—space-saving layouts, smart storage, and site planning—to help you plan a compact shelter that suits camping, glamping, or tinyhome needs while respecting local zoning and durability requirements.

Compact outdoor living structures require careful planning to make small floor areas feel functional and comfortable. Thoughtful layout choices prioritize multipurpose zones, circulation paths, and integrated storage so that a canvas shelter or modular portable unit can support sleeping, cooking, and sanitary needs without crowding. This article outlines practical layout strategies, material considerations, and site factors such as anchoring and zoning that influence how compact shelters perform in camping, glamping, or tinyhome contexts. Emphasizing sustainable practices, ventilation, and maintenance helps these small spaces remain livable over time.
Canvas and shelter footprints
A compact footprint starts with understanding the canvas or shelter envelope. Choosing a rectangular or slightly tapered footprint makes arranging furniture and storage easier than radial plans. For canvas shelters, allow space for internal frames and any insulation layers; for modular shells, consider how wall thickness affects usable interior area. Position sleeping platforms along one side to keep a clear central aisle for circulation. Integrate lofted storage above the sleeping area where headroom allows; this preserves floor space while keeping essentials accessible. Portable partitioning like curtains or folding screens creates privacy without fixed walls.
Camping and glamping layout strategies
For camping-focused layouts, prioritize quick setup and durable storage. Use fold-down benches and boarding that double as gear stowage. In glamping-style configurations, create a clear separation between sleeping and social areas by placing a small lounge near the entrance and sleeping at the rear. A compact kitchenette with a slide-out counter and stackable containers supports meal prep while keeping surfaces tidy. Incorporate ventilation pathways—high vents and screened windows—to reduce condensation when multiple occupants generate humidity. Lighting and layered textiles can make a small shelter feel spacious without adding bulky furniture.
Portable, modular, and zoning considerations
Portable and modular units benefit from pre-planned connection points and standardized modules that stack or link. Modular layouts allow you to add a small bathroom or storage module later without reworking the main living area. Before finalizing a layout, check local zoning and permitting for tinyhome-style uses, allowable occupancy, and offgrid installations. Some jurisdictions restrict permanent shelter size or require minimum setbacks; planning for a modular, movable configuration can avoid some regulatory hurdles. If you intend to use the structure seasonally on a leased site, verify local services and site rules to ensure your layout meets practical needs.
Insulation, ventilation, and waterproofing
Insulation strategy affects interior dimensions and comfort. Thin, high-performance insulation can retain interior volume compared with thick batts, but installation must account for condensation control. Provide cross-ventilation with operable vents and screened openings to manage humidity and fresh air—critical in canvas shelters where breathability and airflow reduce mildew risk. Waterproofing details at seams, floors, and porch thresholds prevent moisture ingress that reduces usable storage and degrades insulation. For portable units, sacrificial external fabrics or detachable covers simplify maintenance while protecting the structure from prolonged exposure.
Anchoring, maintenance, and durability
Secure anchoring is essential for compact shelters sited in exposed locations. Anchoring points should align with structural loads and be compatible with soil or deck connections—use ground anchors, screw-in anchors, or bolted base plates depending on site conditions. Regular maintenance of canvas, zippers, and seam sealants extends service life; establish a routine for inspecting waterproofing, reinforcing worn stitching, and reapplying protective coatings. Keep maintenance access in mind when laying out built-in storage and screens: removable panels and clear access paths make inspections and repairs easier without dismantling the interior setup.
Sustainable offgrid setups and tinyhome integration
Design compact layouts with sustainable, offgrid-friendly systems in mind. Place a small solar array and battery bank near the entrance to minimize cable runs; locate water storage and filtration systems where weight distribution supports the shelter foundation. Integrate composting or compact sanitation solutions when full plumbing isn’t feasible. For tinyhome compatibility, ensure connections for modular bathroom or mechanical pods so upgrades don’t require reworking primary living areas. Thoughtful material choices—recycled fabrics, breathable wall liners, and durable waterproof membranes—reduce long-term upkeep and support more sustainable use of a compact shelter.
Conclusion Space-saving layouts for compact outdoor living structures balance practical circulation, multipurpose furnishings, and durable materials to make small shelters livable and resilient. Addressing insulation, ventilation, anchoring, waterproofing, and maintenance during the design phase reduces long-term upkeep and helps the unit adapt to camping, glamping, or tinyhome uses while meeting local zoning and site constraints.


