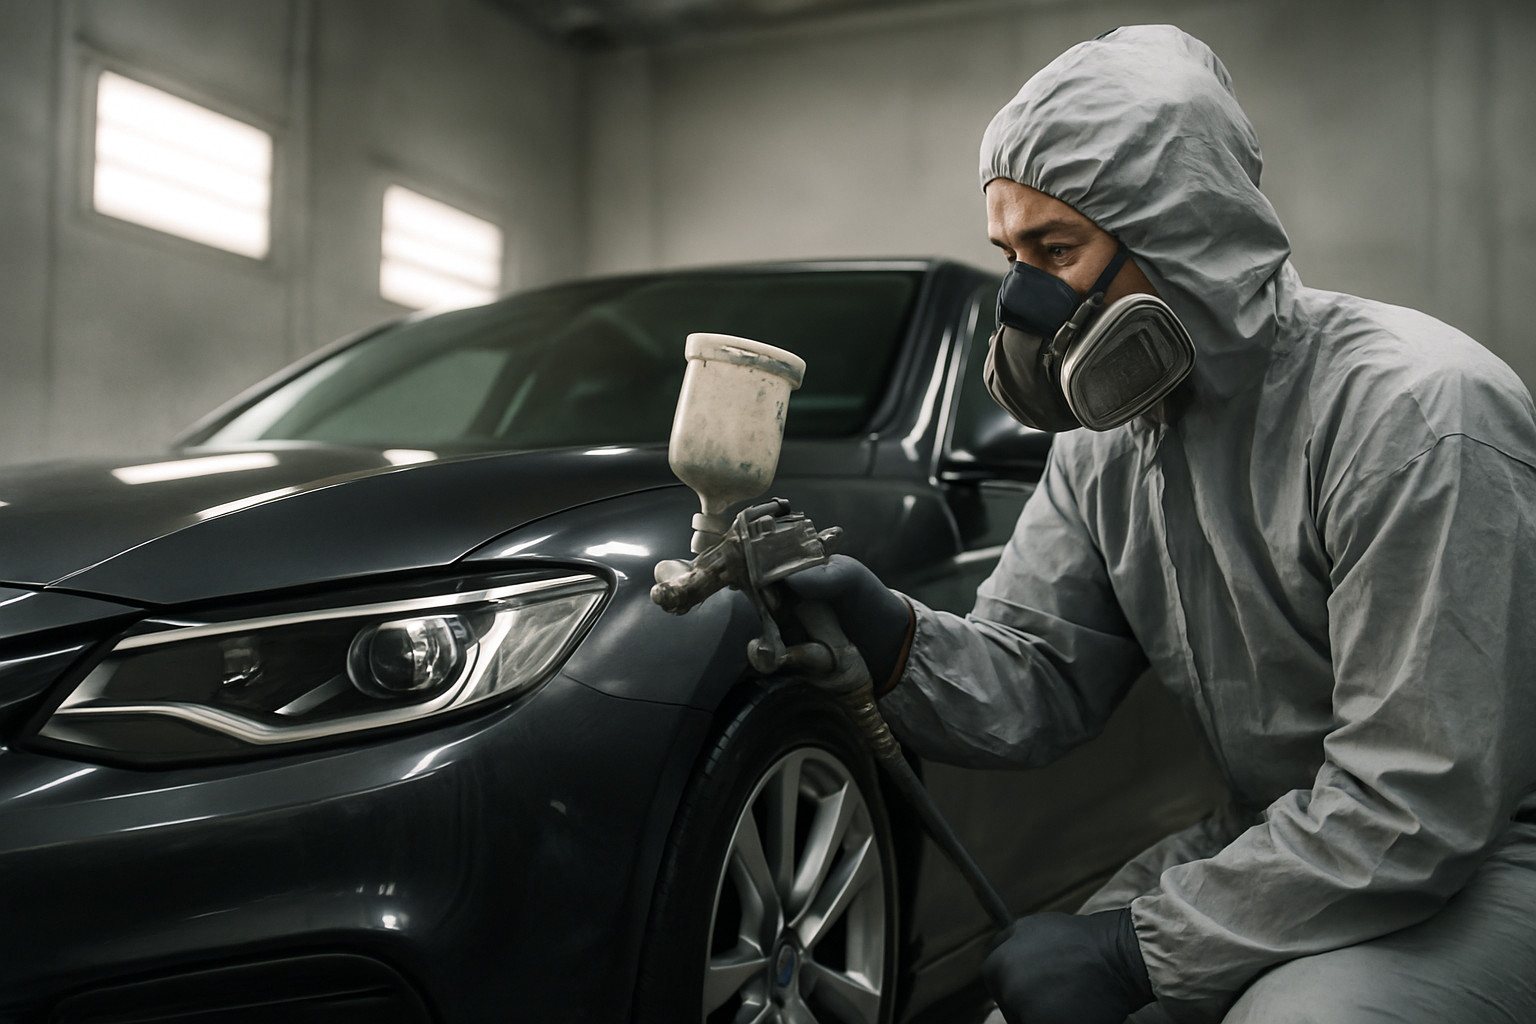
Stepwise Care Routine to Maintain Restored Vehicle Surfaces
A clear, repeatable care routine preserves restored vehicle surfaces after scratch removal and helps maintain paint, clearcoat, and overall finish. This overview outlines practical steps — from assessing damage to polishing and sealing — so automotive detailing and maintenance keep repaired areas consistent over time.

A deliberate, stepwise routine is essential after scratch repair to keep restored vehicle surfaces looking uniform and protected. Once a scratch has been treated with touchup paint, compound, or polishing, follow a consistent process that addresses leveling, gloss restoration, and long-term protection. This approach reduces abrasion risks, extends the life of the clearcoat, and helps maintain the original paint finish as part of routine automotive detailing and upkeep.
How can you assess scratch depth and type?
Correct assessment differentiates between clearcoat scuffs, paint-level scratches, and deeper substrate damage. Use visual inspection under varied light plus a gentle fingernail test: if the nail catches, the defect likely penetrates beyond the clearcoat. Surface scratches often respond to polish or light compounding, while paint-exposing scratches usually need touchup paint and then clearcoat. Record the location and size of each scratch to decide whether localized repair or panel blending is required, and to plan follow-up maintenance steps to protect the repaired area.
When should touchup paint be used and how to prep?
Touchup paint is appropriate for small areas where the colored basecoat is exposed. Begin by cleaning the area thoroughly with an automotive-safe degreaser and removing any loose material. If the exposed area has rough edges, very light wet-sanding can help feather the boundary before applying thin layers of factory-matched paint. Allow adequate drying between coats, then use a matching clearcoat layer where necessary. Proper surface prep and controlled application reduce texture differences and the need for aggressive buffing later.
What steps protect the clearcoat and restore finish?
After painting or scratch correction, restoring and protecting the clearcoat is critical. Apply clearcoat compatible with the underlying paint and follow the manufacturer’s cure times before handling. If the new clearcoat shows irregularities, careful wet-sanding with fine grit and gradual refinement can level the surface. Once level, transition to gentle polish and buffing to recreate uniform gloss. A continuous, intact clearcoat shields paint from UV, chemicals, and abrasion, preserving the visual finish and helping the repair blend with surrounding panels.
When to use buffing, polish, and compound safely?
Buffing and polishing remove minor defects and rebuild gloss, but must be matched to the scratch severity and paint hardness. Start with a non-cutting polish to evaluate improvement; progress to a medium-cut compound only if necessary. Use a dual-action polisher at moderate speed, appropriate pads, and small passes to avoid overheating the clearcoat. Follow compounding with progressively finer polishes to refine the finish. The goal is to remove or minimize visible transitions while preserving as much clearcoat thickness as possible.
Which compound and sealant choices support long-term results?
Choose compounds and finishing polishes that suit your vehicle’s paint system: aggressive compounds remove more clearcoat and should be used sparingly for deeper defects, while finishing polishes restore reflection and remove haze. After polishing, apply a high-quality sealant or paint-specific protection to lock in the finish and provide hydrophobic properties. Sealants tend to offer longer-lasting protection than waxes and help guard against environmental contamination, reducing abrasion risk and delaying the need for further corrective polishing.
How to minimize abrasion with regular maintenance?
Routine maintenance prevents many recurring surface problems. Use gentle washing techniques such as the two-bucket method, grit guards, microfiber wash mitts, and pH-neutral shampoo to avoid introducing swirl marks. Reapply sealant periodically according to product instructions and schedule light polish sessions to address minor wear before it becomes deeper abrasion. Consider targeted protective measures like paint protection film or ceramic coatings in high-impact zones. Keep a repair and maintenance log to track treatments and plan follow-up inspections.
Conclusion Maintaining restored vehicle surfaces requires a combination of correct assessment, careful touchup or leveling, controlled buffing and polishing, and reliable sealing. Adopting gentle washing and preventive measures reduces abrasion and extends the life of paint and clearcoat. Following a stepwise care routine as outlined helps keep repaired areas visually consistent with the surrounding finish and supports long-term automotive detailing and maintenance practices.


