The Complete Guide to Rubber Flooring: Installing Interlocking Tiles for Home and Gym
Creating the perfect interior space often comes down to choosing the right flooring solution. Rubber interlocking tiles have emerged as a versatile and practical option for both home and gym environments, offering durability, comfort, and easy installation. This comprehensive guide explores everything you need to know about rubber flooring solutions using interlocking tiles.

Choosing the Right Interlocking Tiles for Your Space
When selecting interlocking tiles for your home or gym, consider factors such as tile thickness, surface texture, and material composition. Commercial gym installations typically require thicker tiles (8mm-12mm) for heavy equipment, while home applications might use thinner options (4mm-8mm). The interlocking mechanism should be robust and precise to ensure seamless installation and prevent separation during use.
Installation Process and Requirements
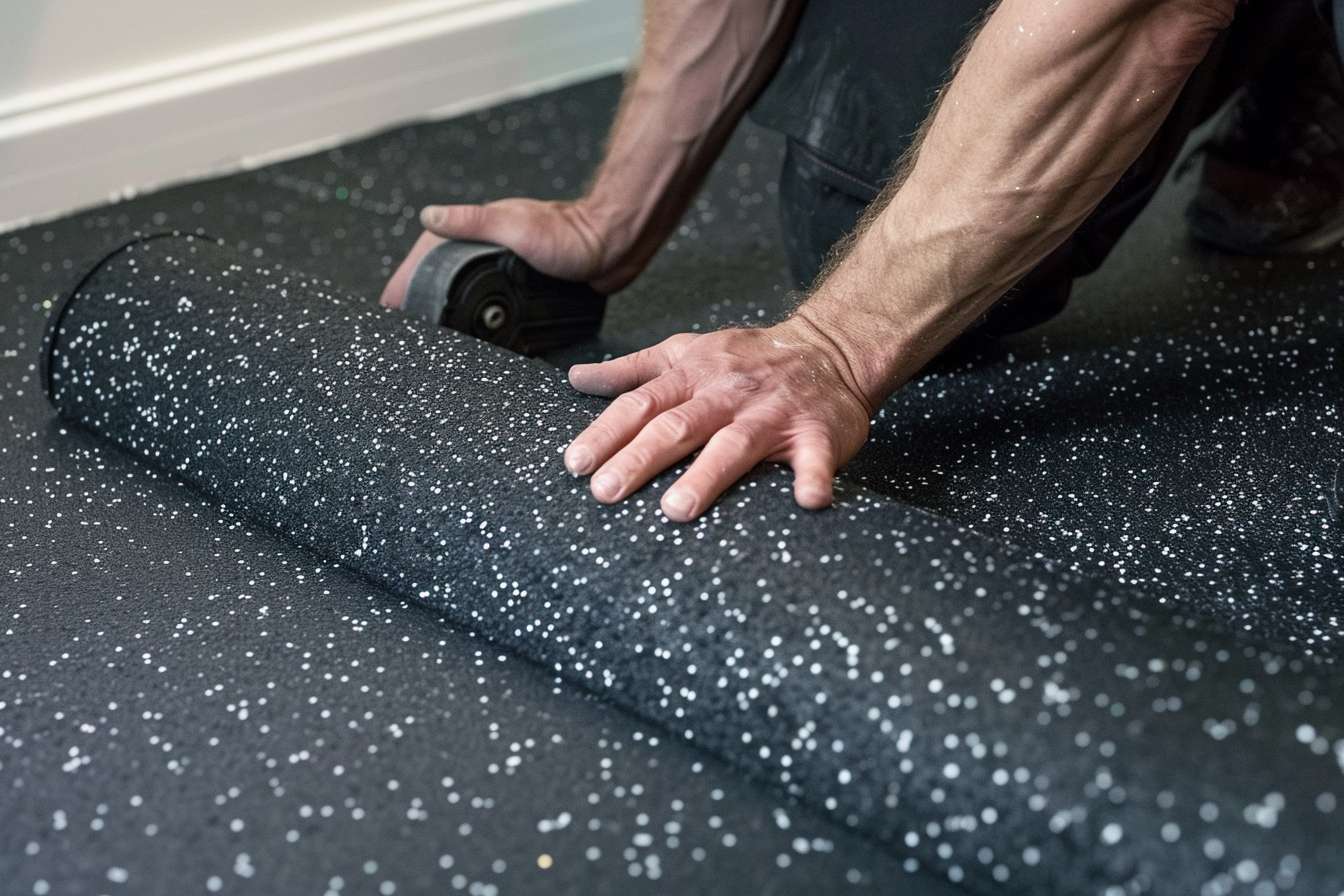
Installing interlocking rubber tiles is relatively straightforward but requires proper preparation. Begin by thoroughly cleaning and leveling the subfloor. Allow the tiles to acclimate to room temperature for 24-48 hours before installation. Start from a corner and work your way out, ensuring each tile connects securely with adjacent pieces. Use a rubber mallet to firmly lock the pieces together.
Maintenance and Care Guidelines
Proper maintenance extends the life of rubber flooring significantly. Regular cleaning involves sweeping or vacuuming to remove loose debris, followed by damp mopping with mild soap solution. Avoid harsh chemicals or abrasive cleaners that could damage the rubber surface. Address spills promptly to prevent staining, and periodically inspect the interlocking connections to ensure they remain secure.
Applications in Home and Gym Settings
In home settings, rubber flooring works excellently in basements, home gyms, playrooms, and garages. For commercial gyms, these tiles provide essential impact absorption for free weight areas and cardio zones. The modular nature of interlocking tiles allows for creative patterns and easy replacement of damaged sections without disrupting the entire floor.
Cost Comparison and Available Options
| Product Type | Average Cost per sq ft | Installation Complexity | Best Use Case |
|---|---|---|---|
| Basic Rubber Tiles | $2-$4 | Easy | Home Gym, Basement |
| Premium Sport Tiles | $4-$8 | Moderate | Commercial Gym |
| Heavy-Duty Tiles | $6-$12 | Moderate | Weight Rooms |
| Decorative Rubber Tiles | $5-$10 | Easy | Home Interior |
Prices, rates, or cost estimates mentioned in this article are based on the latest available information but may change over time. Independent research is advised before making financial decisions.
When selecting rubber flooring, consider the total project cost including shipping, underlayment, and any professional installation fees. While DIY installation can save money, ensuring proper installation is crucial for longevity and performance. The initial investment in quality rubber flooring typically pays off through durability and reduced maintenance costs over time.
Creating a functional and attractive space with rubber flooring requires careful consideration of your specific needs, budget, and installation capabilities. Whether for a home gym or commercial facility, interlocking rubber tiles offer a practical and customizable flooring solution that combines durability with ease of installation and maintenance.


