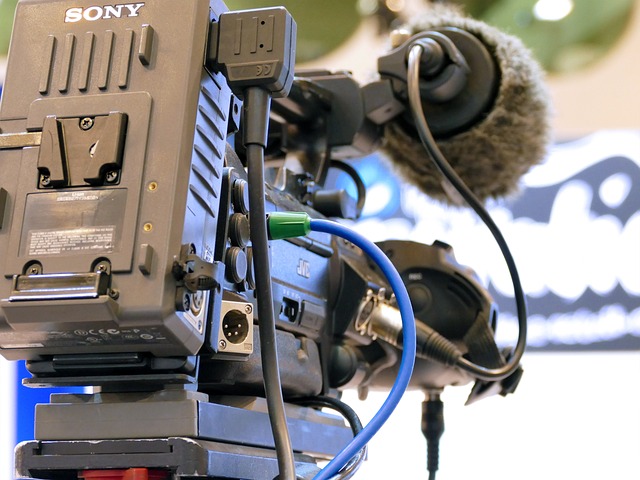
Video Equipment Guide for Videography and Editing
A clear understanding of video equipment helps you match tools to creative goals and workflows. Whether you’re starting in videography or upgrading a kit, knowing how camera bodies, lenses, audio capture, lighting, stabilization, and editing tools interact reduces wasted time and expense. This article explains core equipment categories, practical selection criteria, and workflow tips so you can choose gear that supports your creative vision and technical needs.

Videography: What equipment matters most?
Videography depends on a combination of camera systems, lenses, audio capture, lighting, stabilization, and accessories. Prioritize items that affect image and sound quality directly: sensor size and codec support, lens range and aperture, reliable microphones, and flexible lighting. Think about workflow compatibility—file formats your editing software supports, battery life for location shoots, and whether you need portable gear for run-and-gun work or more robust setups for controlled productions. Accessories such as extra batteries, memory cards, and mounting hardware often determine whether a shoot runs smoothly.
Camera: Choosing the right body and lenses
The camera is central, but the best option depends on your shooting needs. Mirrorless and DSLR bodies offer different form factors, autofocus systems, and lens ecosystems. Sensor size affects depth of field and low-light performance; full-frame sensors yield shallower depth of field compared with APS-C or Micro Four Thirds. Match lenses to subject matter—wide-angle for landscapes and interiors, standard zooms for run-and-gun, and fast primes for low-light or cinematic looks. Consider codec choices, internal stabilization, and mounting options for future upgrades when selecting a camera.
Video: Lighting, audio, and capture settings
Good video stems from controlled lighting and clean audio as much as from the camera. Use three-point lighting, soft diffusion, and color-balanced sources to shape scenes. For audio, shotgun microphones, lavalier mics, and portable recorders reduce background noise and improve clarity. Pay attention to capture settings: choose appropriate resolution and frame rates for the intended delivery, set bitrates high enough for color grading, and record in flat profiles or LOG if you plan significant color work. Monitor exposure with zebras or histograms and check audio levels with visual meters.
Filming: Stabilization and on-set workflow
Filming workflows benefit from predictable stabilization and a straightforward on-set system. Tripods, fluid heads, gimbals, and sliders each solve different movement needs—tripods for locked shots, gimbals for smooth handheld motion, sliders for short controlled moves. Develop a simple shot list, call sheets, and a labeling system for media to keep takes organized. Back up footage onsite when possible and rotate batteries and memory cards to avoid interruptions. If renting or repairing gear, check local services for rentals and maintenance that match your schedule and technical requirements.
Editing: Software, storage, and export best practices
Editing tools and storage form the backbone of post-production. Choose editing software compatible with your camera codecs and workflow—some editors handle RAW/LOG footage and high-bit-rate formats better than others. Build enough storage performance (SSD for active edits, larger HDDs or NAS for archives) and maintain an organized folder structure with consistent file naming. Use proxy workflows when working with high-resolution video to speed timeline performance. Understand color grading basics, noise reduction tools, and export settings that preserve quality while targeting intended platforms and delivery formats.
Conclusion
Selecting video equipment involves balancing creative goals, technical needs, and practical considerations like portability and workflow. Focus on core components—camera and lenses, lighting and audio, stabilization, and editing tools—while planning for accessories and media management that keep shoots efficient. Regular maintenance, consistent backup practices, and understanding how each piece of equipment affects the final video will help you build a reliable kit that supports a range of projects.


