Wedding Photos: Planning, Posing, and Practical Tips
A wedding photo collection preserves moments, emotions, and details that couples will revisit for decades. Thoughtful planning, clear communication with your photographer, and small logistical choices on the day help produce images that feel authentic and balanced. This article explains practical steps for planning wedding photography, posing the couple, and making sure both bride and groom look their best while keeping timelines and local services in mind.

What wedding photography styles should you consider?
Wedding photography spans documentary, editorial, fine art, and traditional portraiture, among other styles. Documentary (or photojournalistic) focuses on candid moments and emotional storytelling; editorial borrows from fashion photography with styled poses; fine art emphasizes composition and mood; traditional covers posed family and ceremony shots. Look through portfolios to identify consistent lighting, color grading, and framing that match your preferences. Communicate examples with your photographer so they understand whether you prefer more candid storytelling or composed portraits.
How can a couple prepare for posed and candid shots?
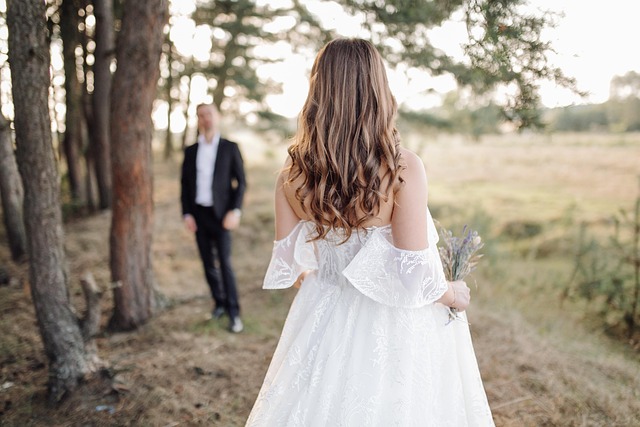
Preparation makes a day feel less rushed and increases the chances of natural photos. Create a shot list with the photographer that balances must-have posed portraits with moments you want candidly captured—first look, vows, first dance, family groups, and venue details. Practice a few poses beforehand so the couple feels comfortable, and plan short breaks during the day to regroup. Encourage relaxed movement rather than rigid standing; small actions—walking hand in hand, sharing a laugh, or a gentle forehead touch—translate well on camera and help create authentic expressions.
How should the bride get ready for photos?
The bride’s preparation affects how photos turn out: grooming choices, dress selection, and timing all matter. Schedule hair and makeup to finish at least 45–60 minutes before formal portraits to allow for touch-ups. Bring a simple kit containing pins, a sewing needle, double-sided tape, clear nail polish, and blotting papers for quick fixes. Consider removable sleeves or wraps if you want varied looks without a full dress change. Discuss lighting and backdrops with your photographer so they can plan where to stage bridal portraits in flattering light.
How can the groom prepare for his portraits?
Groom portraits benefit from the same level of planning as bridal photos. Schedule time for adjustments like cufflinks, tie knots, and jacket fits. A tailoring check a few weeks before ensures a polished silhouette on the day. Simple grooming the morning of—fresh shave or neatly trimmed beard, clean nails, and hair product as needed—helps maintain a refined look throughout the event. Coordinate colors with the bride’s attire and wedding palette so the groom’s suit complements the overall visual story without overpowering it.
Hiring local services and arranging the day timeline
When booking local services, confirm the photographer’s availability for rehearsal, early access to the venue, and any required permits. Ask about second shooters or assistants for simultaneous coverage of bride and groom if needed. Build a timeline that accounts for travel time, buffer windows for delays, and dedicated portrait sessions—early morning or golden hour yield flattering natural light. Share the timeline with vendors and the wedding party so everyone knows where to be and when, which reduces stress and improves the flow of photos.
Conclusion
Successful wedding photos result from a mixture of planning, open communication, and relaxed execution on the day. By choosing a photography style that fits your taste, preparing the couple with practiced poses and sensible grooming, and coordinating local services and a realistic timeline, you can create a photo collection that reflects the mood and details of the celebration for years to come.


