Revamp Your Garage Floor: Choosing the Best Durable Coating
Upgrade your garage with durable, attractive floor coatings that protect against stains, chemicals, and daily wear. Learn how epoxy, polyurethane, and hybrid systems compare, what preparation and application involve, and the cost options for DIY versus professional installation to make the best choice for your garage renovation.

Garage floors can quickly become stained, cracked, and worn, but the right coating transforms the space into something both functional and visually appealing. Modern garage floor systems protect concrete from automotive fluids, abrasion, and UV exposure while offering customizable finishes—from solid colors to decorative flakes and metallic sheens. Below is a clear guide to the most common coating options, how to prepare and apply them, and what to expect cost-wise.
Why epoxy remains a top choice
Epoxy is widely used for garage floors because it cures into a hard, tightly bonded surface that resists chemicals, oils, and physical impact. Its strong adhesion to properly prepared concrete and long service life make it ideal for heavy loads, such as vehicles and workbenches. Epoxy systems come in many colors and can be enhanced with decorative flakes or metallic pigments for a tailored look. While epoxy is highly durable, it can be less flexible than some alternatives and may yellow if exposed to direct sunlight unless protected by a UV-stable topcoat.
Advantages of polyurethane coatings
Polyurethane coatings offer benefits that complement or, in some cases, exceed epoxy. They are more flexible and better at resisting scratches and abrasion, which is helpful in garages with frequent foot or tool traffic. Polyurethane also has superior UV stability and is less likely to yellow or fade over time. Because of these traits, polyurethane is commonly applied as a clear topcoat over epoxy base layers—combining the structural strength of epoxy with the wear and UV resistance of polyurethane.
Preparing your concrete for a lasting finish
Surface preparation is one of the most important steps for any successful coating. The process typically includes:
- Thorough cleaning to remove dust, dirt, and grease.
- Repairing cracks, pitting, and spalls with suitable patching compounds.
- Mechanical profiling—etching or grinding the surface—to create texture for adhesion.
- Degreasing or shot blasting for floors with heavy contamination or oil saturation.
Skipping or rushing preparation greatly increases the risk of delamination and shortens the lifespan of the coating. If your concrete has significant contamination, severe damage, or complex outgassing issues, professional surface prep is often worth the investment.
The application process: steps and tips
Application varies by product and skill level, but the general workflow is:
- Mix the coating components according to the manufacturer’s directions—epoxy is commonly a two-part system that must be combined precisely.
- Apply a primer if required to promote bonding and seal the substrate.
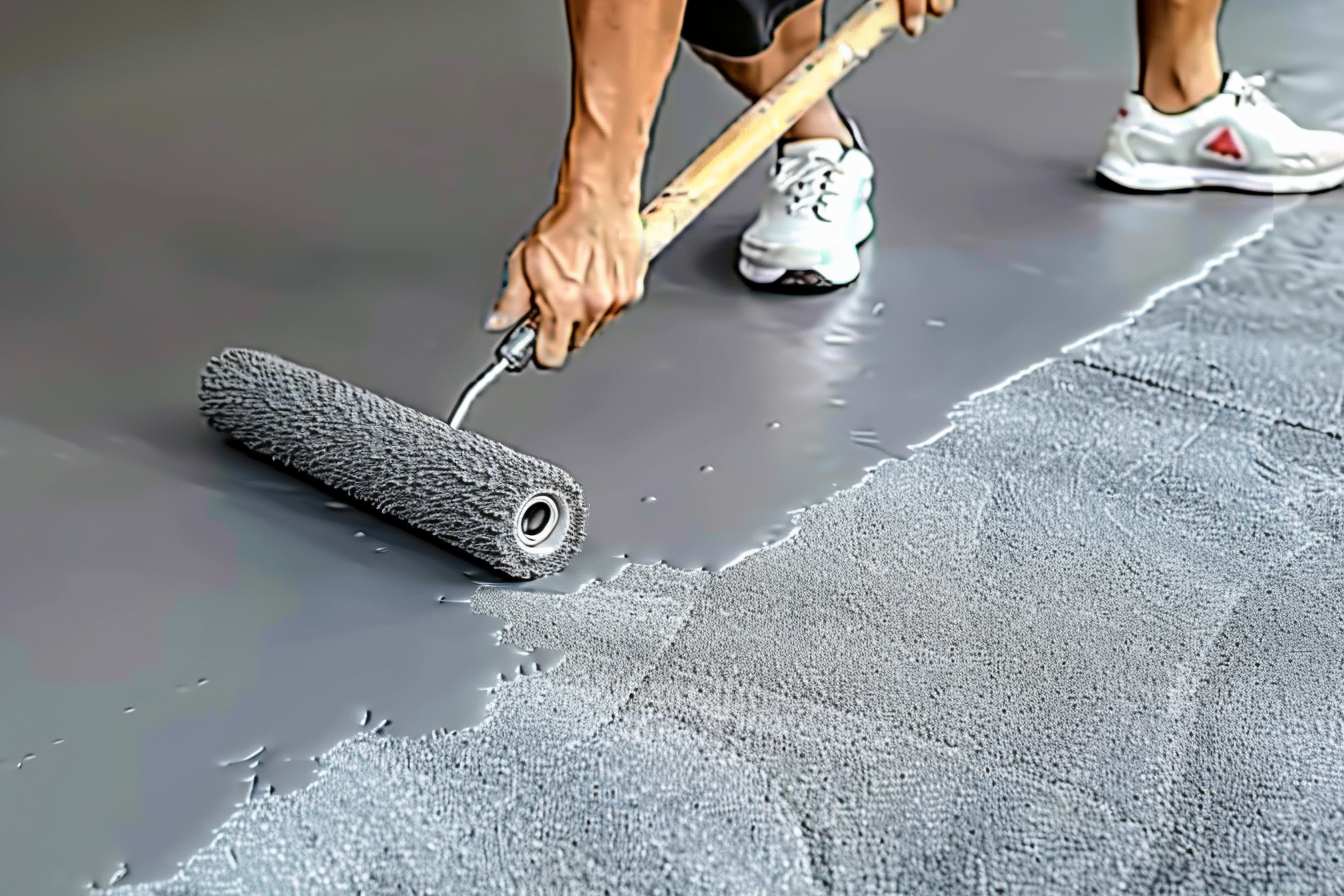
- Spread the main coating evenly using rollers or squeegees. Work in sections to maintain wet edges and consistent thickness.
- If using decorative flakes, broadcast them onto the wet epoxy base to achieve even coverage and texture.
- Allow proper cure time between coats; many systems require multiple layers for full coverage and performance.
- Finish with a clear polyurethane topcoat when extra UV resistance and abrasion protection are desired.
Temperature, humidity, and ventilation affect cure times and final properties—always follow the technical data sheet for the chosen product.
Costs and practical considerations
Choosing between DIY and professional installation depends on your budget, skill level, and the condition of the concrete. DIY kits can be economical but demand careful prep and application. Professional installers charge more upfront but deliver consistent results and longer-lasting finishes in many cases.
| Coating Type | Typical DIY Cost | Typical Professional Installation | Notable Features |
|---|---|---|---|
| Epoxy | $200 - $600 | $1,500 - $3,000 | Hard, chemical-resistant, customizable colors and flakes |
| Polyurethane | $300 - $800 | $2,000 - $4,000 | Flexible, UV-stable, scratch-resistant; often used as a topcoat |
| Hybrid (Epoxy + Polyurethane) | $400 - $1,000 | $2,500 - $5,000 | Combines epoxy’s durability with polyurethane’s UV and abrasion resistance |
Prices are estimates and may vary by region, project complexity, and market changes. Independent research and multiple quotes are recommended before deciding.
Long-term value and maintenance
A properly installed coating reduces maintenance: spills wipe up easier, dust is minimized, and routine sweeping and occasional mopping keep the floor looking new. Consider warranty terms, expected lifespan, and the ease of touch-ups when comparing products and contractors. Also factor in the intended use of the space—workshop activity, heavy vehicle use, or simple car storage influence the ideal system.
Final considerations
Garage floor coatings are a practical upgrade that adds protection and curb appeal. Epoxy provides a tough, chemical-resistant surface and many decorative options. Polyurethane contributes flexibility and UV stability and is commonly used as a protective clear coat. Effective results hinge on thorough surface preparation and correct application—if you lack experience or the slab requires extensive work, professional installation is a sensible choice. With the right system and attention to detail, a coated garage floor can remain functional and attractive for many years.


