Revamp Your Garage Floor Now: Complete Coatings Guide
Thinking about upgrading your garage floor? This in-depth guide walks through popular garage floor coatings—epoxy, polyurethane, acrylic, and polyaspartic—explaining benefits, application steps, costs, and expected lifespans. Learn how to choose the right coating, what preparation is required, and how to maintain a durable, attractive garage floor.
Why coat your garage floor?
Treating your concrete with a dedicated floor coating does more than improve looks. Coatings protect concrete from oil stains, chemical spills, and moisture that cause deterioration over time. A well-applied finish also simplifies cleaning—regular sweeping and the occasional mop keep it looking new—and can boost the visual appeal of your garage, which may add to your home’s resale value.
Besides aesthetics, a coating provides functional advantages: it creates a tougher surface that resists abrasion, reduces dusting from worn concrete, and can improve slip resistance depending on the product and additives used.
Popular coating types and what they offer
There are several widely used garage-floor systems, each with distinct strengths:
-
Epoxy: The most commonly chosen option, epoxy delivers a hard, glossy surface that resists many chemicals and daily wear. Epoxy systems come in a range of colors and are often enhanced with decorative flakes or chips for a textured, finished look.
-
Polyurethane: Frequently used as a clear topcoat over epoxy, polyurethane brings excellent UV stability and flexibility. It resists yellowing from sunlight better than standard epoxies and adds impact resistance and a longer-lasting shine.
-
Acrylic sealers: Budget-friendly and quick to apply, acrylic sealers provide basic protection and color enhancement. They are thinner and wear out faster than epoxy or polyurethane, making them a short-term solution.
-
Polyaspartic: A newer polyurea-derived option, polyaspartic coatings cure very quickly, tolerate a broader temperature range during installation, and offer excellent durability. Their rapid curing translates into reduced downtime for the garage.
How coatings are applied
A lasting finish depends on proper installation. Typical steps include:
-
Surface preparation: Clean the concrete thoroughly to remove dirt, grease, and old coatings. Concrete is then etched or mechanically ground to open pores and create a profile that coatings can bond to.
-
Repairs: Fill cracks, holes, and surface imperfections with an appropriate patching compound to create a smooth, stable base.
-
Priming: Many systems use a primer to improve adhesion, especially on dense or polished concrete.
-
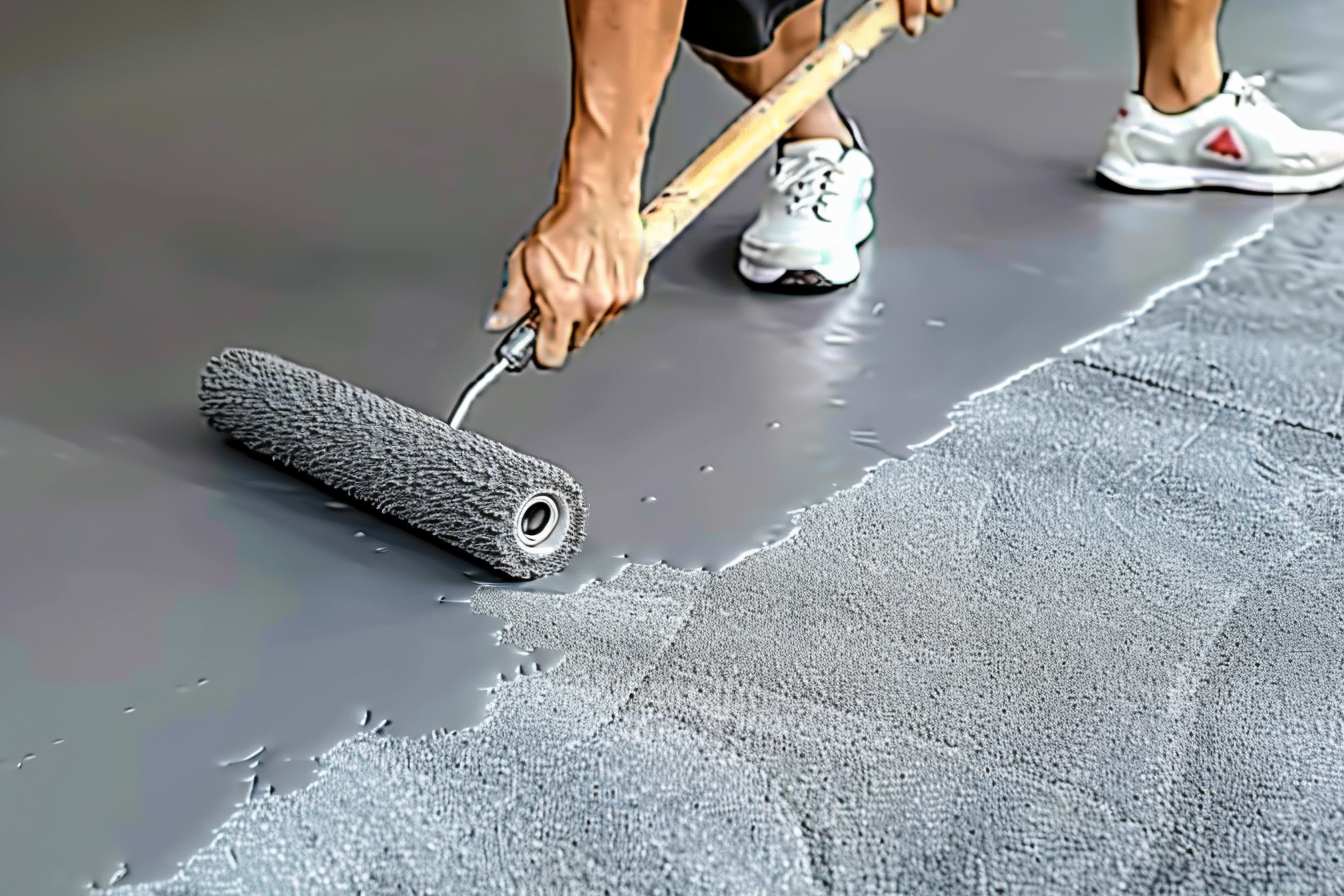
Base coat: The primary coating—epoxy, polyaspartic, or acrylic—is applied, sometimes in multiple layers to reach the desired thickness.
-
Decorative options and broadcast: If using flakes or chips for texture and appearance, they are broadcast into the wet base coat and allowed to set.
-
Topcoat: A clear polyurethane or polyaspartic topcoat is often applied to seal and protect the decorative layer and enhance UV resistance and gloss.
-
Curing: Cure time varies by chemistry—acrylics may be ready quickly, while epoxies can take a day or more; polyaspartic systems can often be walked on within hours. Full chemical resistance can take several days.
Costs at a glance
| Coating Type | DIY Cost (materials only) | Professional Installation |
|---|---|---|
| Epoxy | $200 - $600 | $1,500 - $3,000 |
| Polyurethane | $250 - $800 | $2,000 - $4,000 |
| Acrylic | $100 - $300 | $800 - $1,500 |
| Polyaspartic | $300 - $900 | $2,500 - $5,000 |
Prices are estimates for a typical two-car garage (around 400–500 sq ft). The higher end of professional pricing can reflect extensive prep, moisture mitigation, or custom decorative work.
This pricing information is provided as an estimate and may change over time. Independent research and quotes are recommended before making financial decisions.
Expected lifespan and maintenance
Longevity depends on the coating type, installation quality, and usage patterns. Typical lifespans are:
- Epoxy: 5–10 years when applied correctly and maintained
- Polyurethane: 5–10 years, often used as a protective topcoat
- Acrylic sealers: 1–3 years; suitable for short-term enhancement
- Polyaspartic: 10–15 years with proper installation
Maintenance is straightforward: sweep regularly, wipe up spills quickly, and avoid harsh solvents or abrasive cleaners. Use mats under heavy equipment or during projects that might drop corrosive chemicals or hot materials.
Choosing the right system for your garage
Select a product based on the garage’s use, climate, and desired appearance. For a homeowner who wants a durable, decorative surface, epoxy with a clear polyurethane topcoat is a common choice. If you need a fast turnaround or must coat in cooler or warmer temperatures, polyaspartic systems offer flexibility and quick curing. For low-cost, short-term improvement, acrylic sealers will do the job but will need reapplication more often.
Also consider substrate condition and moisture; some garages require moisture-vapor mitigation or specialized primers before a coating can be reliably applied. When in doubt, consult a professional to assess the concrete and recommend the correct system.
Final thoughts
A professionally applied floor coating can transform a drab concrete slab into a durable, easy-to-clean, and visually appealing surface. By understanding differences between epoxy, polyurethane, acrylic, and polyaspartic systems—as well as proper surface prep, realistic costs, and maintenance requirements—you can choose the right solution to protect and enhance your garage for years to come.

